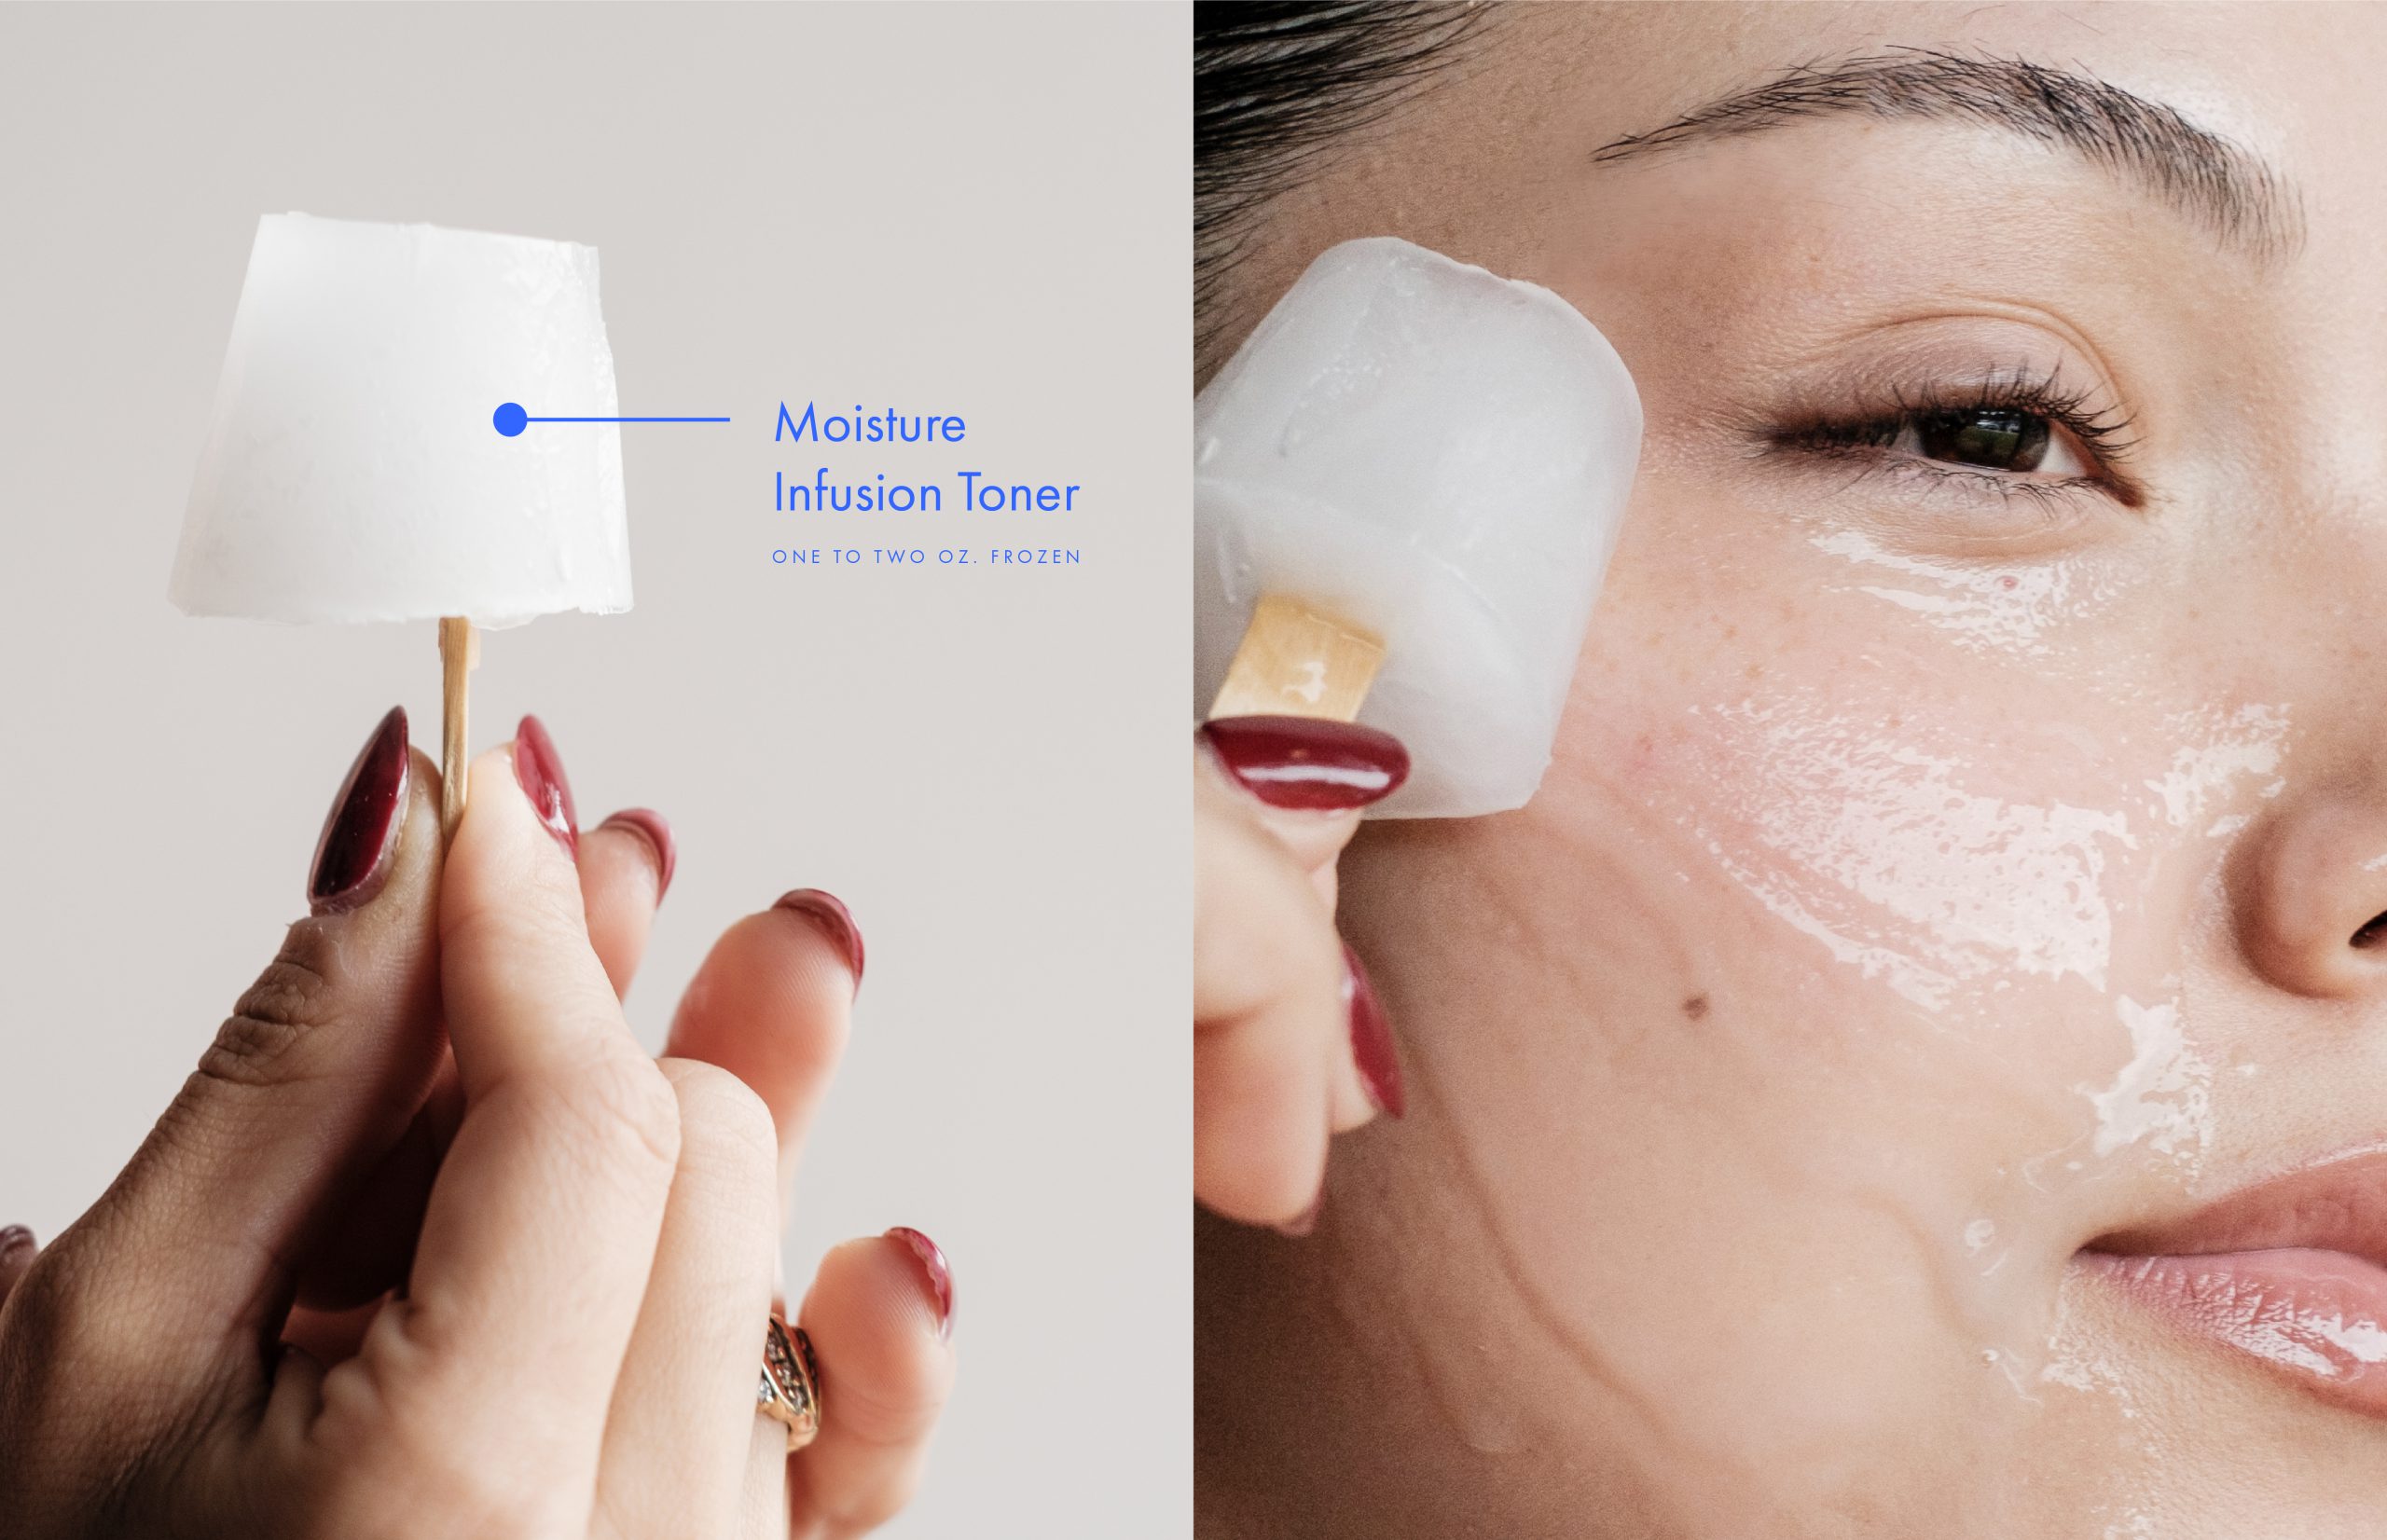
Introducing skincare’s coolest new trend: toner ice cubes. This two-ingredient, two-step process is a quick and simple way to hydrate and soothe your face in a matter of minutes!
What You Need
To create your very own toner ice cubes, you need just two things:
- A small plastic cup (2 oz. Red Solo shot cups, a cough syrup cup, or an ice cube tray with larger-sized compartments)
- An alcohol-free toner or hydrating essence, like Moisture Infusion Toner.
How to Make Toner Ice Cubes
The process couldn’t be easier! In just a few short hours, you can have a dozen toner ice cubes of your own. Here’s how:
- Pour your chosen toner or hydrating essence into the small plastic cup or ice cube tray.
- Place the container in the freezer and allow it to freeze for approximately 2-4 hours.
It’s important to note that you should have at least 1 oz. (or two tablespoons) of toner or essence in the container. This ensures that the mixture freezes properly. Unlike regular water-based ice cubes that remain intact, toners often contain ingredients like glycerin and glycols, which can cause them to turn into slush if the quantity is too small.
The Benefits of Toner Ice Cubes
So, why the recent increase in popularity of these toner ice cubes? Not only are they super easy to make, but they also provide so many great benefits. Here are a few of my favorites:
Reduces Puffiness
Applying cold toner to your face can help reduce puffiness, especially around the eyes and cheeks. The cold temperature constricts blood vessels, reducing swelling and inflammation.
Improves Blood Circulation
The icy sensation stimulates blood circulation, giving your skin a healthy, rosy glow.
Enhances Serum Absorption
Toner ice cubes are recommended for use after applying a hydrating and nourishing serum (avoid using them with acids or retinol). When you apply the serum and then glide the toner ice cube over your face, the cold temperature causes capillaries to constrict. This creates a vacuum effect that may help pull the serum deeper into the skin’s layers, increasing its effectiveness.
How to Use Toner Ice Cubes
Now that you’ve made these neat soothing tools, let me walk you through the best way to incorporate them into your routine.
Step 1: Start by thoroughly cleansing your face to ensure it’s free of makeup, dirt, and impurities.
Step 2: Apply your favorite hydrating and nourishing serum. Avoid using serums containing acids or retinol for this step.
Step 3: Take one of your toner ice cubes from the freezer.
Step 4: Gently glide the ice cube over your skin for 10-20 seconds, using light, upward motions. Be sure to cover your entire face.
Step 5: There’s no need to rinse your face after using the toner ice cube. Allow the toner to absorb into your skin.
Step 6: Finish your skincare routine by applying moisturizer to lock in hydration and keep your skin soft and supple.
Toner ice cubes are a refreshing addition to your skincare routine, offering numerous benefits such as reducing puffiness, improving blood circulation, and enhancing serum absorption. With just a few simple steps, you can create your own frozen toner cubes and enjoy a spa-like experience in the comfort of your home. So, why not give this cool beauty trend a try and experience the revitalizing effects it can have on your skin? Your complexion will thank you for it!
Next, here are 6 tips for reducing under-eye puffiness and dark circles.
Celebrity Esthetician & Skincare Expert
As an esthetician trained in cosmetic chemistry, Renée Rouleau has spent 30 years researching skin, educating her audience, and building an award-winning line of products. Her hands-on experience as an esthetician and trusted skin care expert has created a real-world solution — products that are formulated for nine different types of skin so your face will get exactly what it needs to look and feel its best. Trusted by celebrities, editors, bloggers, and skincare obsessives around the globe, her vast real-world knowledge and constant research are why Marie Claire calls her “the most passionate skin practitioner we know.”
Source link

